{ "$result_object_key": { "account_name": "The name of the account associated with the contact.", "additional_fields": "Additional fields for the contact.", "date_of_birth": "The contact's date of birth.", "email": "The contact's email address.", "first_name": "The contact's first name.", "id": "The contact's unique identifier.", "last_name": "The contact's last name.", "lead_source": "The source from which the lead originated.", "mailing_city": "The city for mailing.", "mailing_country": "The country for mailing.", "mailing_state": "The state for mailing.", "mailing_street": "The street address for mailing.", "mailing_zip": "The ZIP code for mailing.", "phone": "The contact's phone number." }}
v1
Create Or Update Contact
Documentation for the Create Or Update Contact action for Zoho
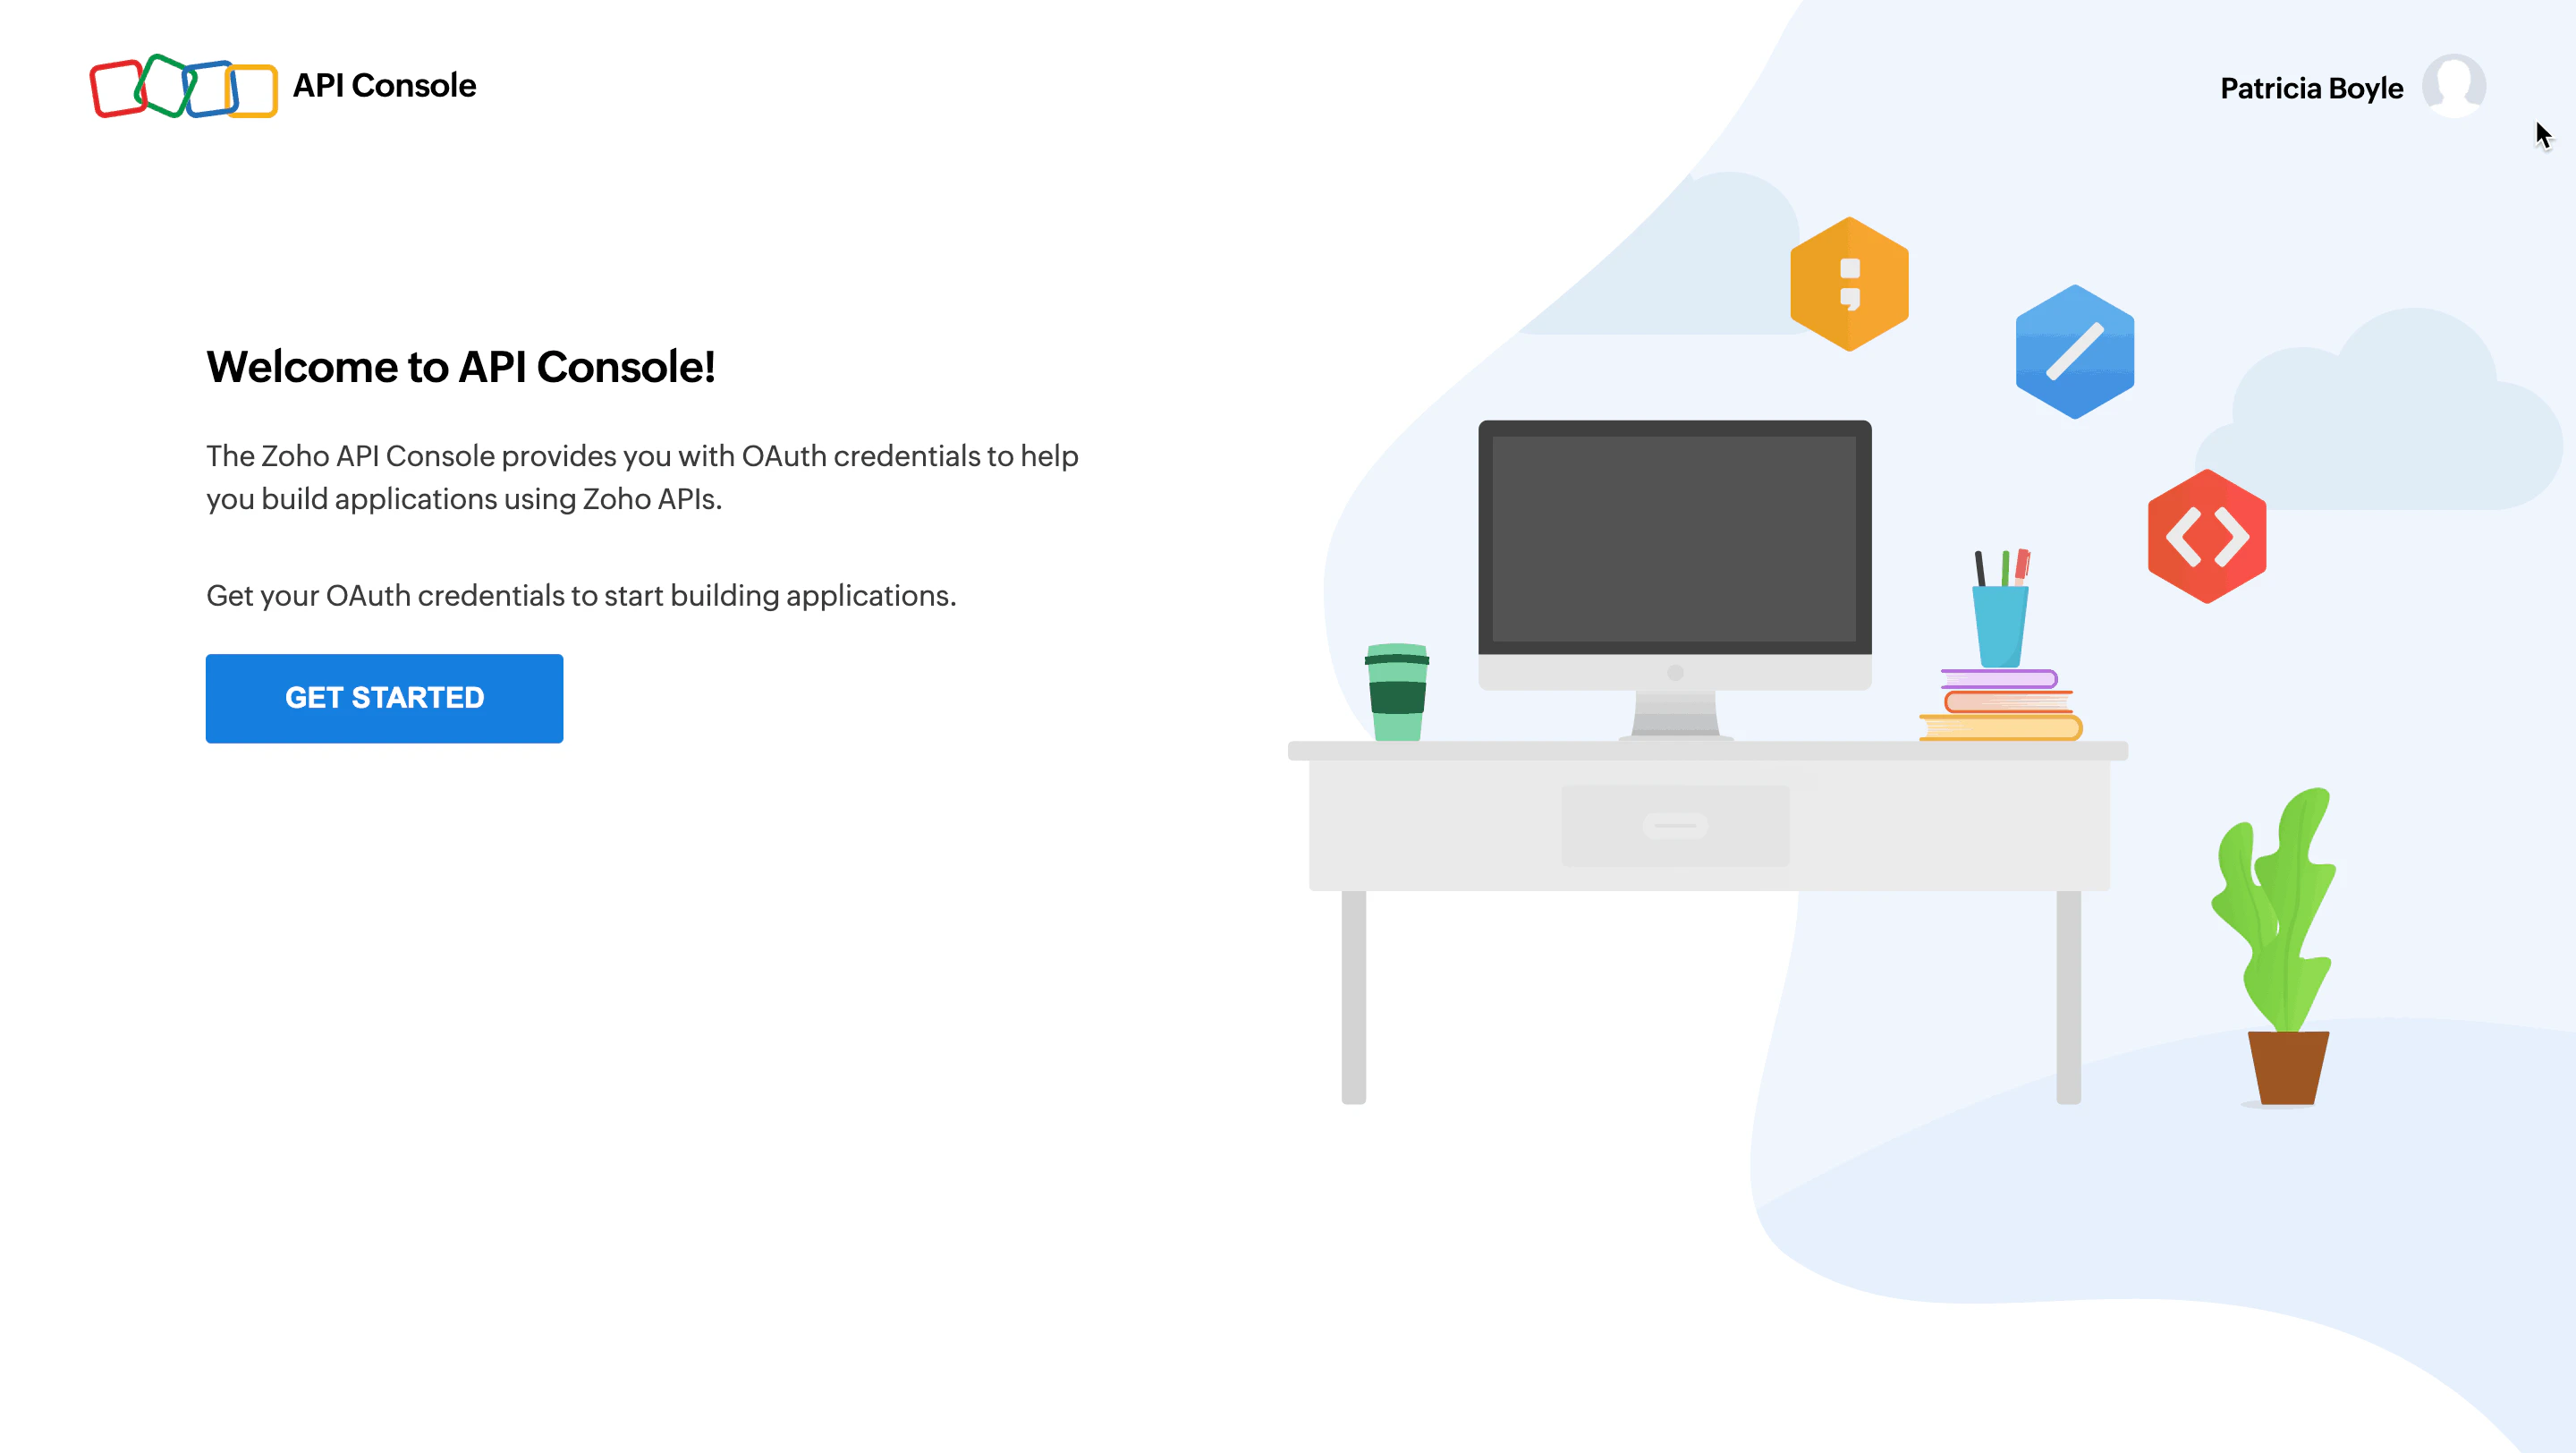
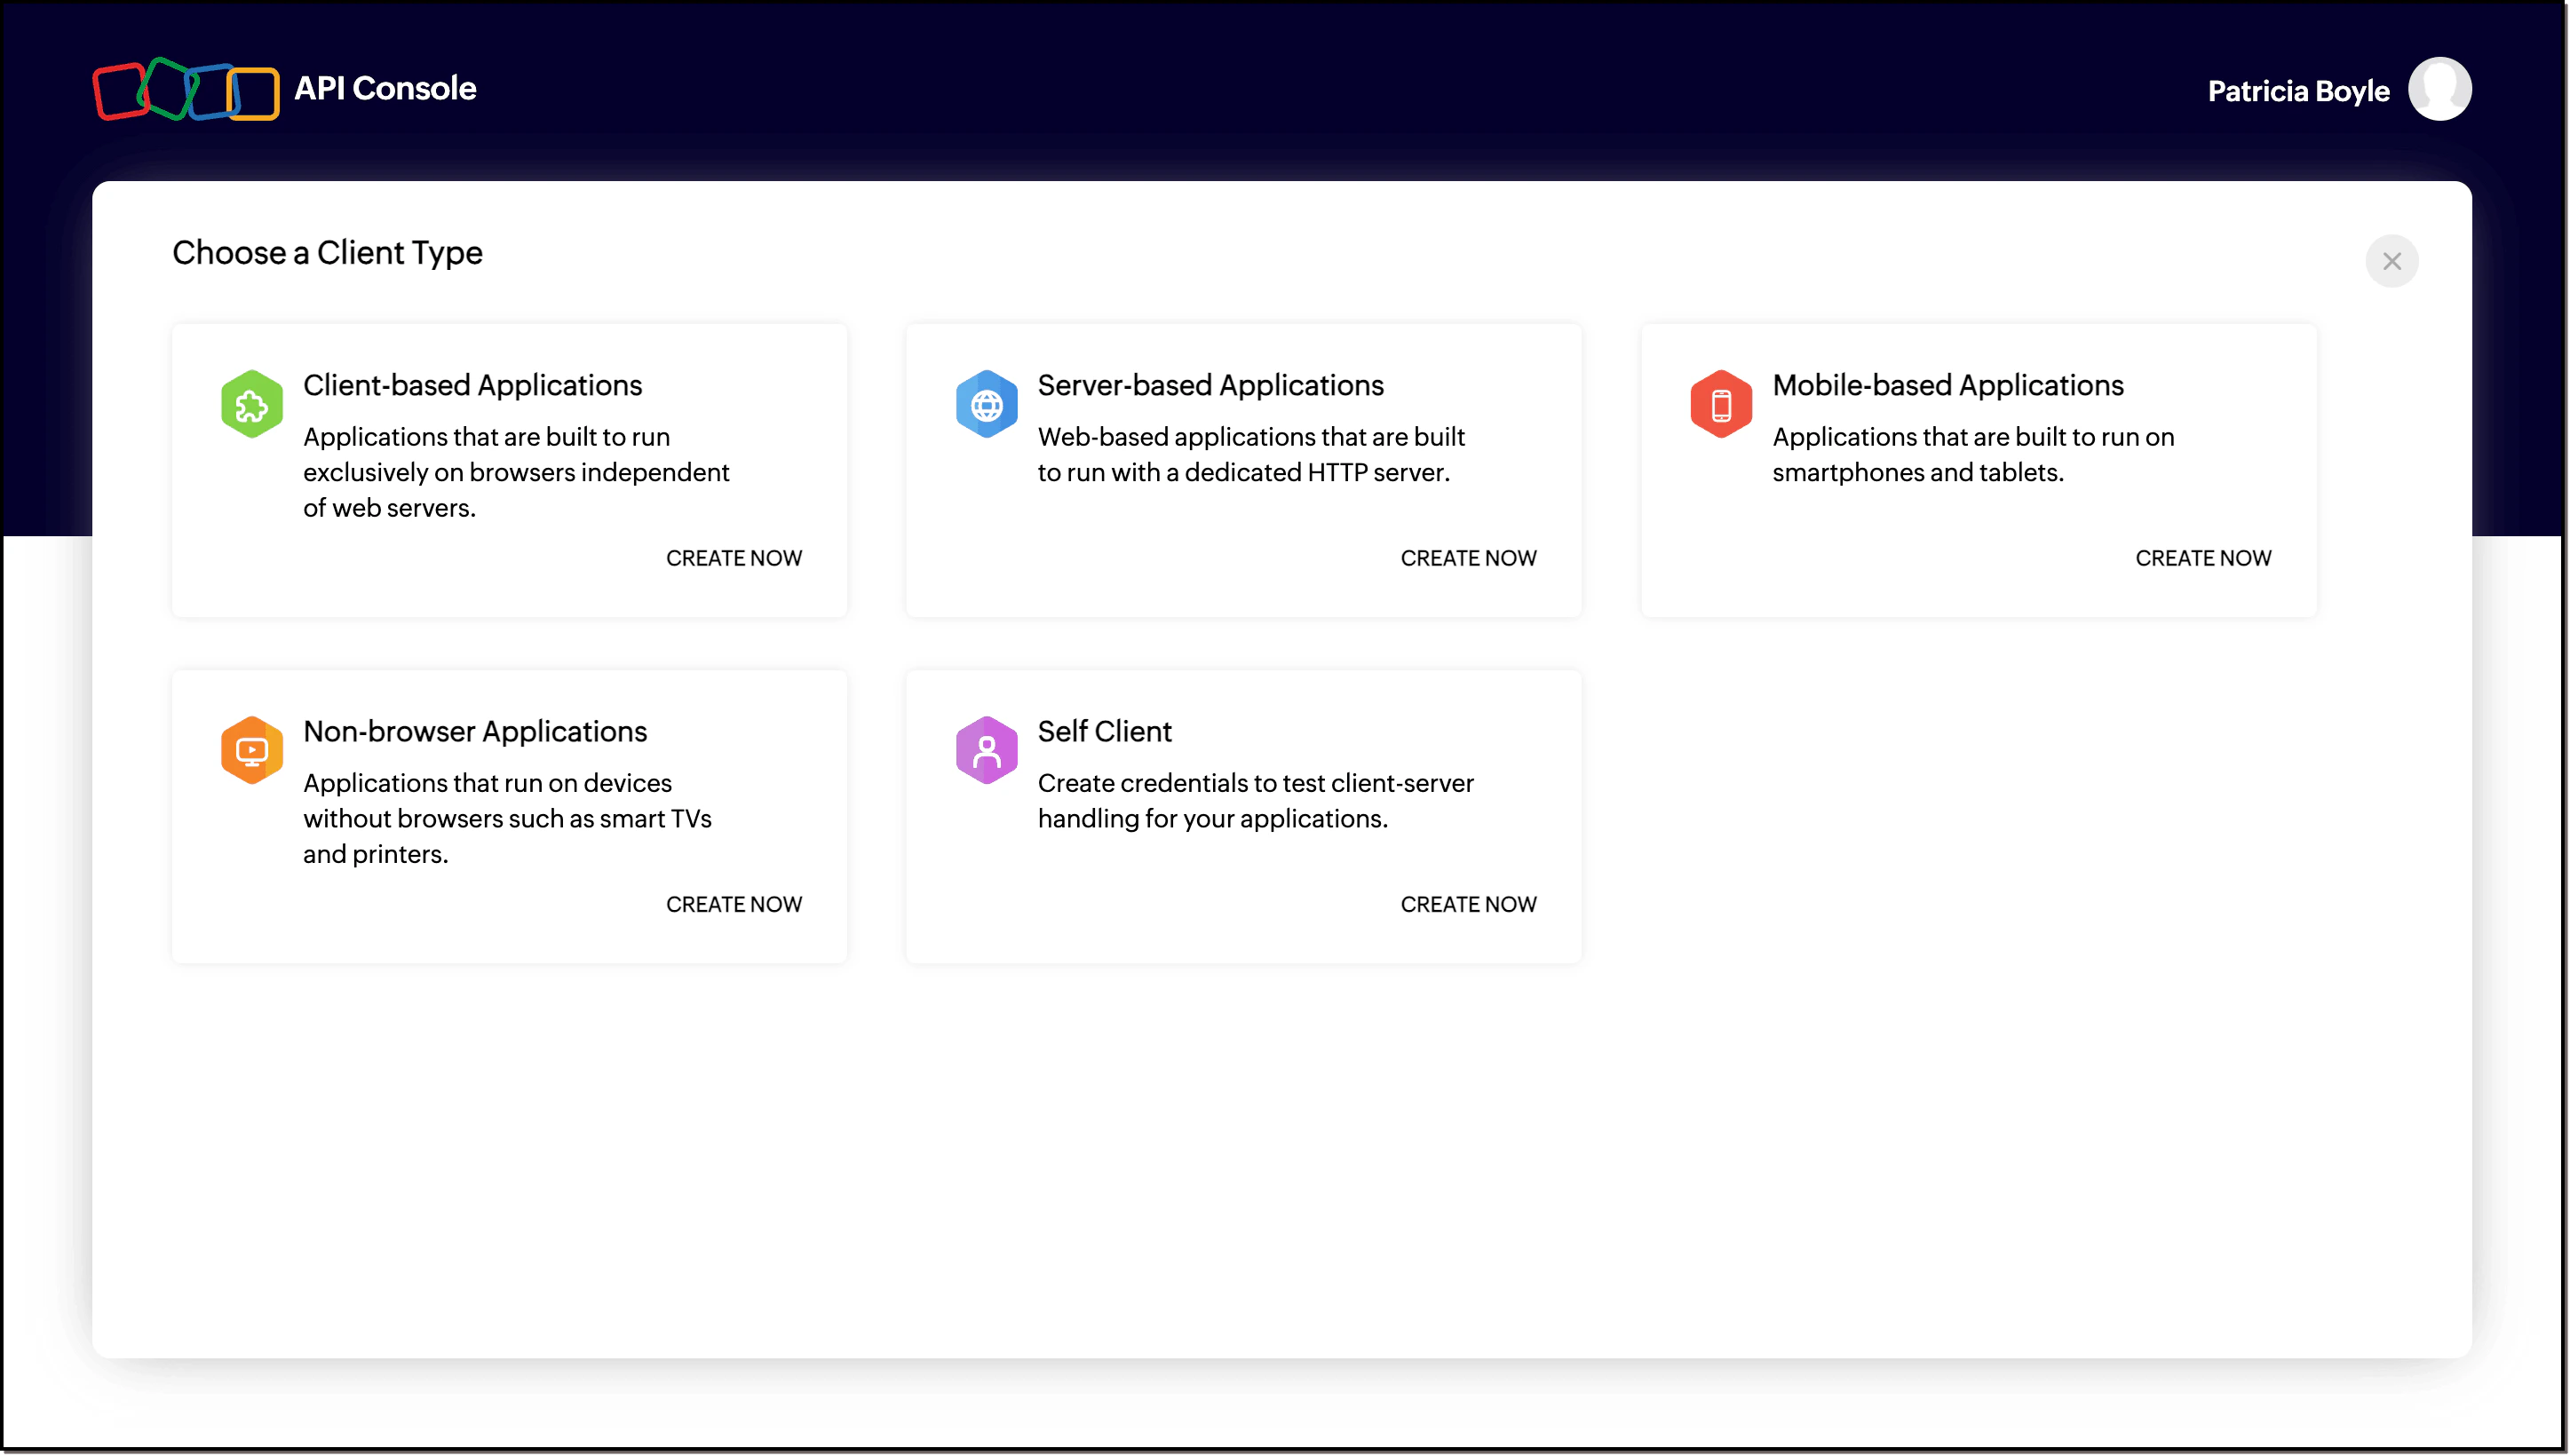
Fill in the required details. Once created, go to the Client Secret tab and copy the Client ID and Client Secret. You will need these to configure the Zoho integration in Morf.
{ "$result_object_key": { "account_name": "The name of the account associated with the contact.", "additional_fields": "Additional fields for the contact.", "date_of_birth": "The contact's date of birth.", "email": "The contact's email address.", "first_name": "The contact's first name.", "id": "The contact's unique identifier.", "last_name": "The contact's last name.", "lead_source": "The source from which the lead originated.", "mailing_city": "The city for mailing.", "mailing_country": "The country for mailing.", "mailing_state": "The state for mailing.", "mailing_street": "The street address for mailing.", "mailing_zip": "The ZIP code for mailing.", "phone": "The contact's phone number." }}
You can use the result of the action’s data as inputs to downstream workflow actions.Each fetch action requires a result object key to be specified which will nest the action’s result data inside the downstream data context in the Workflow.Here we demonstrate how to refer to this data using the prefix $result_object_key.